
If you’re a healthcare provider working with insurance claims, you already know how one small error can cause a major headache. Denials, delays, underpayments — they often start with a simple paperwork issue. And at the heart of that paperwork lies one classic, red-and-white form: the CMS-1500 claim form.
This form might look intimidating at first glance, but once you understand what goes where (and why), it becomes second nature. Think of it as the bridge between your medical services and the insurance reimbursement you deserve.
Let’s walk through this, step by step.
What Is the CMS-1500 Claim Form?
The CMS-1500 form is the standard paper claim form used by non-institutional providers — physicians, therapists, and other healthcare professionals — to bill Medicare and most commercial insurance carriers.
It’s managed by the National Uniform Claim Committee (NUCC) and accepted nationwide. If you bill for services outside hospital or facility settings — such as private practices, urgent care clinics, or telehealth — this is your go-to form.
- For: Outpatient and professional services
- Used by: Physicians, therapists, chiropractors, etc.
- Managed by: NUCC (National Uniform Claim Committee)
- Replaces: Old HCFA-1500 form
- Compatible with: Both paper and electronic billing (via the 837P electronic format)
Why the CMS-1500 Form Matters
Insurance billing isn’t just about codes — it’s about clean data transmission. A properly completed CMS-1500 form ensures:
- Faster claim processing
- Fewer denials due to missing or incorrect info
- Compliance with payer requirements
- Easier claim tracking and payment posting
In short, filling this form right the first time means getting paid faster — and that’s what every practice wants.
Who Should Use the CMS-1500 Form
You’ll use the CMS-1500 if you’re billing for:
- Private practice services (family medicine, therapy, chiropractic care, etc.)
- Independent lab work or diagnostics
- Telehealth and virtual visits
- Durable Medical Equipment (DME)
- Ambulance services
Hospitals, skilled nursing facilities, and home health agencies use the UB-04 (CMS-1450) form instead.
Breaking Down the CMS-1500 Form (Box by Box)
The form includes 33 fields (boxes) — each serving a specific purpose. Here’s how to read it like a pro.
Section 1: Patient and Insurance Information (Boxes 1–13)
This section identifies the patient, the insured party, and the type of insurance.
- Box 1: Check the insurance type (Medicare, Medicaid, Commercial, etc.)
- Box 2: Patient’s name (Last, First, Middle Initial)
- Box 3: Date of Birth and Gender
- Box 4: Insured’s name (if different from the patient)
- Box 5: Patient’s address
- Box 6: Relationship to insured (Self, Spouse, Child, etc.)
- Box 7: Insured’s address
- Box 9: Other insurance (if secondary coverage applies)
- Box 11: Insurance policy/group number
- Box 12: Patient’s signature for release of information
- Box 13: Authorization to assign benefits to provider
Make sure the insurance type box matches what’s on the patient’s card. Mismatched payer types (like marking Medicare when it’s actually a Medicare Advantage plan) are a common denial trigger.
Section 2: Provider Information & Service Details (Boxes 14–33)
This is the meat of the form — where you describe what was done, why, when, and by whom.
- Box 14: Date of current illness, injury, or pregnancy
- Box 17: Referring provider’s name
- Box 19: Additional claim information (e.g., modifiers, therapy notes)
- Box 21: Diagnosis codes (ICD-10 — up to 12 can be listed)
- Box 24A–J: Service lines (Date of Service, CPT/HCPCS code, Modifier, Units, Charges, NPI)
- Box 25: Provider’s Tax ID or SSN
- Box 28: Total charge amount
- Box 31: Provider signature and date
- Box 33: Billing provider info and NPI
Always match CPT and ICD-10 codes correctly. If they don’t logically support each other, payers will deny or request additional documentation.
Electronic vs. Paper Submission
Most payers today prefer electronic claim submission via the 837P format. However, paper CMS-1500 forms are still widely accepted — especially by smaller payers or when electronic submission fails.
Pros of Electronic Claims:
- Faster payments (often 7–14 days)
- Real-time rejection feedback
- Fewer manual errors
- Easier tracking
Pros of Paper Claims:
- Useful when electronic rejections persist
- Required by certain governments or small payers
- Good backup option for providers without EDI setups
Pro tip: Even if you file electronically, it’s smart to keep blank CMS-1500 forms on hand. They’re great for training, backup, or appeals.
Common Mistakes on the CMS-1500 Form and How to Prevent Them?
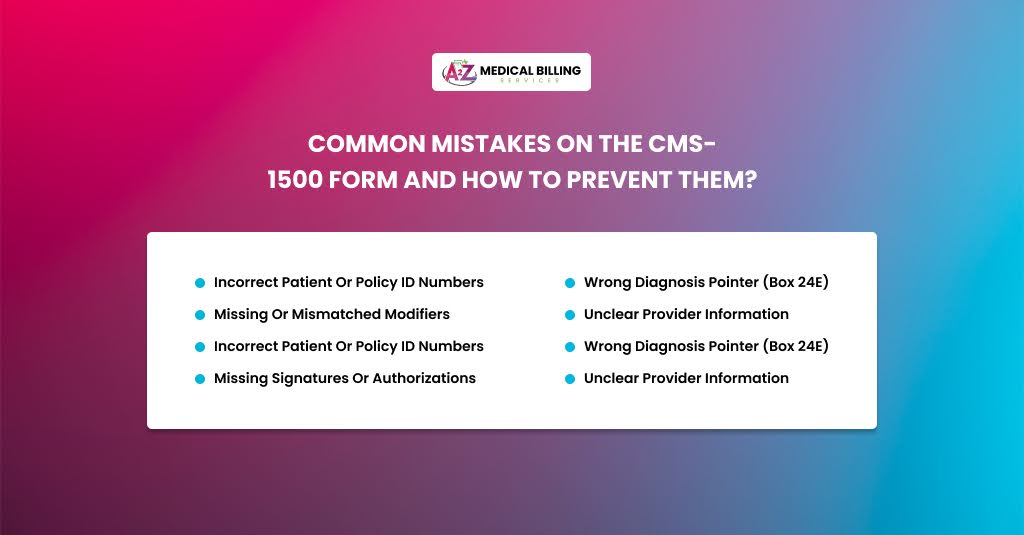
Filling out the CMS-1500 form isn’t rocket science, but even experienced billers make avoidable errors.
Here are the most common mistakes that sneak in — and exactly how to fix or prevent them.
Incorrect Patient or Policy ID Numbers
This one tops the list for a reason. Insurance systems are extremely picky — if even one digit or letter in the patient ID or policy number is wrong, your claim won’t match the payer’s file.
Result? Rejection or denial before it’s even reviewed.
For example, you enter the patient’s ID as X5A768911, but their insurance card shows X5A76911. That missing digit means the claim is now linked to no one in the payer’s system.
To prevent this:
- Always verify patient information directly from the most recent insurance card at every visit.
- Use optical scanning or EHR imports instead of manually typing IDs — it reduces human error.
- If the patient has secondary coverage, double-check both plans and make sure the primary payer is listed in Box 1.
- Before submitting, run eligibility checks through your clearinghouse or portal. If the plan is inactive, fix it before billing.
- Set up a pre-submission validation rule in your billing software to flag any policy number that doesn’t match the payer’s required format.
Missing or Mismatched Modifiers
Modifiers are small, but they carry a big punch. A missing or wrong modifier can flip your claim from “paid in 14 days” to “denied pending review.”
Modifiers like -25, -59, or -95 provide context for the procedure — for example, that two services on the same day were distinct or that a telehealth visit was performed.
Let’s say you bill CPT 99213 and 93000 (office visit + ECG) on the same day, but forget the -25 modifier. The payer assumes they’re bundled and only pays for one.
To avoid this:
- Know your payer-specific modifier policies. Medicare, for example, is strict about -59 and often prefers the X-modifiers (XE, XS, XP, XU).
- Always pair modifiers with supporting documentation in the note (e.g., “separate and distinct service performed”).
- For telehealth, use modifier 95 with the correct place of service (POS 02 or 10, depending on payer rules).
- Run a modifier audit report monthly to identify recurring mistakes.
If you’re unsure whether to use a modifier, check the payer’s “National Correct Coding Initiative (NCCI)” edits — they show which CPTs are bundled and when modifiers are justified.
Wrong Diagnosis Pointer (Box 24E)
Every CPT code must link to a diagnosis that justifies why that service was provided. That link happens in Box 24E, using letters (A–L) that correspond to the ICD-10 codes listed in Box 21.
If the pointer doesn’t match the correct diagnosis, your claim might say you did a “colonoscopy for a sore throat.” Obviously, that’s not medically necessary — and the payer will reject it.
For example:
Box 21 lists:
- A: J01.90 (Sinusitis)
- B: H66.90 (Otitis media)
But Box 24E for CPT 99213 incorrectly points to “B” instead of “A.” The result? Denial for lack of medical necessity.
To avoid this;
- Always cross-check CPT and ICD-10 pairings before submission.
- Use your billing system’s auto-linking feature, but review each claim line manually — automation can’t interpret medical logic.
- Keep reference sheets for common procedure-diagnosis combinations (especially for specialties).
- If a service is related to multiple diagnoses, use multiple pointers (e.g., A, C) separated by commas.
During claim review, hover over each CPT in your EHR — most systems show the linked diagnosis automatically. Make sure it makes sense clinically.
Unclear Provider Information
Every payer needs to know exactly who performed the service and who billed for it—confusing these two (or leaving them blank) results in instant rejections—especially in multi-provider clinics or telehealth setups.
Box 24J identifies the rendering provider (the person who actually saw the patient).
Box 33A shows the billing provider’s NPI (the business entity or practice).
For instance, your claim lists the practice’s NPI in Box 24J instead of the provider’s. The payer denies it because “rendering provider not enrolled with payer.”
To prevent this:
- Always keep an updated NPI directory for your organization (both Type 1 and Type 2 NPIs).
- Make sure every rendering provider is enrolled and credentialed with each payer you bill.
- For incident-to billing, use the supervising provider’s information correctly (Medicare has specific rules).
- Review payer revalidation notices — expired enrollments often cause “provider not found” denials.
If your EHR auto-fills NPIs, verify them after provider onboarding or updates. Wrong mappings can affect dozens of claims before anyone notices.
Missing Signatures or Authorizations
This one sounds minor, but it’s a silent killer for paper claims. Missing signatures, unchecked boxes, or absent authorization info can halt reimbursement cold — especially for Medicare and Medicaid.
Box 12: Patient’s signature to release medical info.
Box 13: Authorization to assign benefits to provider.
Box 31: Provider’s signature and date.
If any of these are blank (or invalid), payers may reject or delay the claim.
Let’s say you submit a claim for physical therapy without Box 12 signed. The payer denies it because no consent was documented to release treatment details.
To prevent this:
- Use electronic signatures when possible—they’re valid and faster.
- Have front-desk staff verify that consent and assignment forms are signed at each visit.
- For prior authorizations, attach the authorization number in Box 23 and keep documentation ready for audits.
- Don’t use stamped or pre-printed signatures unless payer-approved.
Quick Fix: Build a CMS-1500 checklist that includes a final review of Boxes 12, 13, and 31 before submission.
Medicare-Specific Rules for CMS-1500
Medicare has its own playbook. Here are a few must-follow points:
- Always use black ink and print legibly on red CMS-1500 forms (scanners reject copies or faxes).
- Include NPI for all providers involved in care.
- Use ICD-10 codes with maximum specificity.
- Don’t submit handwritten forms — they’ll get rejected.
- Attach modifiers and notes properly for telehealth and incident-to billing.
CMS won’t reimburse services unless the claim data exactly matches what’s on file in PECOS and Medicare Enrollment systems.
When to Resubmit or Appeal
If your claim gets denied, don’t panic. Denials happen — even to the best billers.
Here’s the quick fix process:
- Identify the reason from the denial code (e.g., CO-16, CO-252).
- Correct the error — update code, modifier, or documentation.
- Resubmit electronically (or by paper if required).
- Appeal if you believe the denial was unjustified.
Always keep documentation — SOAP notes, encounter forms, and proof of eligibility — in case payers request supporting records.
Tools to Make CMS-1500 Billing Easier
You don’t have to do it manually anymore. Modern tools simplify the process:
- Clearinghouses (like Availity, Change Healthcare) — clean and submit claims.
- Billing software — auto-fill CMS-1500 fields using patient data.
- EHR integrations — generate CMS-1500s directly from encounters.
- Template generators — great for training new billers.
Automation helps, but human review is still essential — especially for modifiers, diagnosis pointers, and medical necessity justification.
Final Thoughts
The CMS-1500 claim form might look like old-school paperwork, but it’s the lifeline of every provider’s cash flow. Mastering it means mastering your revenue.
Whether you’re billing for a telehealth visit or a routine check-up, accuracy is everything. When each field is filled with care, denials shrink, payments grow, and your practice runs smoother.
So next time you see that red and white form? Smile — it’s not just paperwork. It’s your paycheck.
Let A2Z Billing Simplify Your Claims
Your time belongs to your patients—not to chasing denials or correcting CMS-1500 errors. At A2Z Billing, we handle the entire billing cycle with precision and accountability. From eligibility checks to claim scrubbing and payer follow-ups, our team makes sure your reimbursements come in faster and cleaner.
- 99% claim accuracy rate
- Reduced denials within 60 days
- Dedicated billing manager for your practice
- Medicare, Medicaid, and commercial payer expertise
Stop losing revenue to small errors. Let us handle your paperwork — so you can handle patient care.
Request Your Free Claim Audit with A2Z Billing